


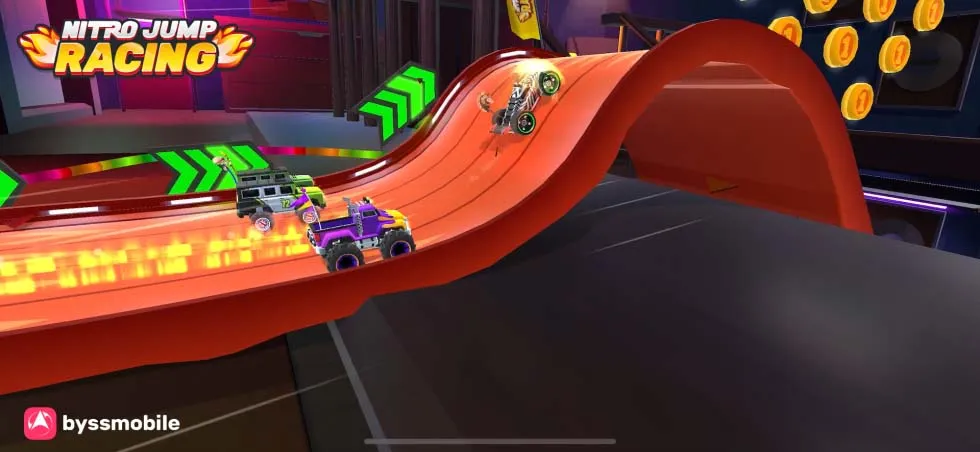
Nitro Jump Racing - PowerUps
FX shots for 3 powerups added to Byss Mobile's racing game.
Overview
This is one of the many projects I've worked on for Nitro Jump Racing, Byss Mobile's racing game. It's particularly distinctive because the goal was to create three unique shots for three new power-ups: Nitro, Freeze and Missile. This meant that I could put more effort into creating special effects.
Role
I was responsible for creating the entire shots from start to finish. Besides directing the project, my role involved creating high-poly models of the toy cars, building the procedural track and props, layout environment, animating the scene, creating special effects, shading and lighting, as well as rendering and compositing the final shots.
Tools and Resources Used
For this project, I used a range of tools and resources to achieve the desired results. I used 3ds Max to model the toy cars and Craft Director Studio plugin to create rigs and animations. Additionally, I used Photoshop to adjust textures. The majority of the work was done in Houdini with Redshift, including layout, camera animations, procedural models, FX simulations, and look development.
To enhance the project, I utilized several models from Megascans and Evermotion. For quick compositing, I used Fusion.
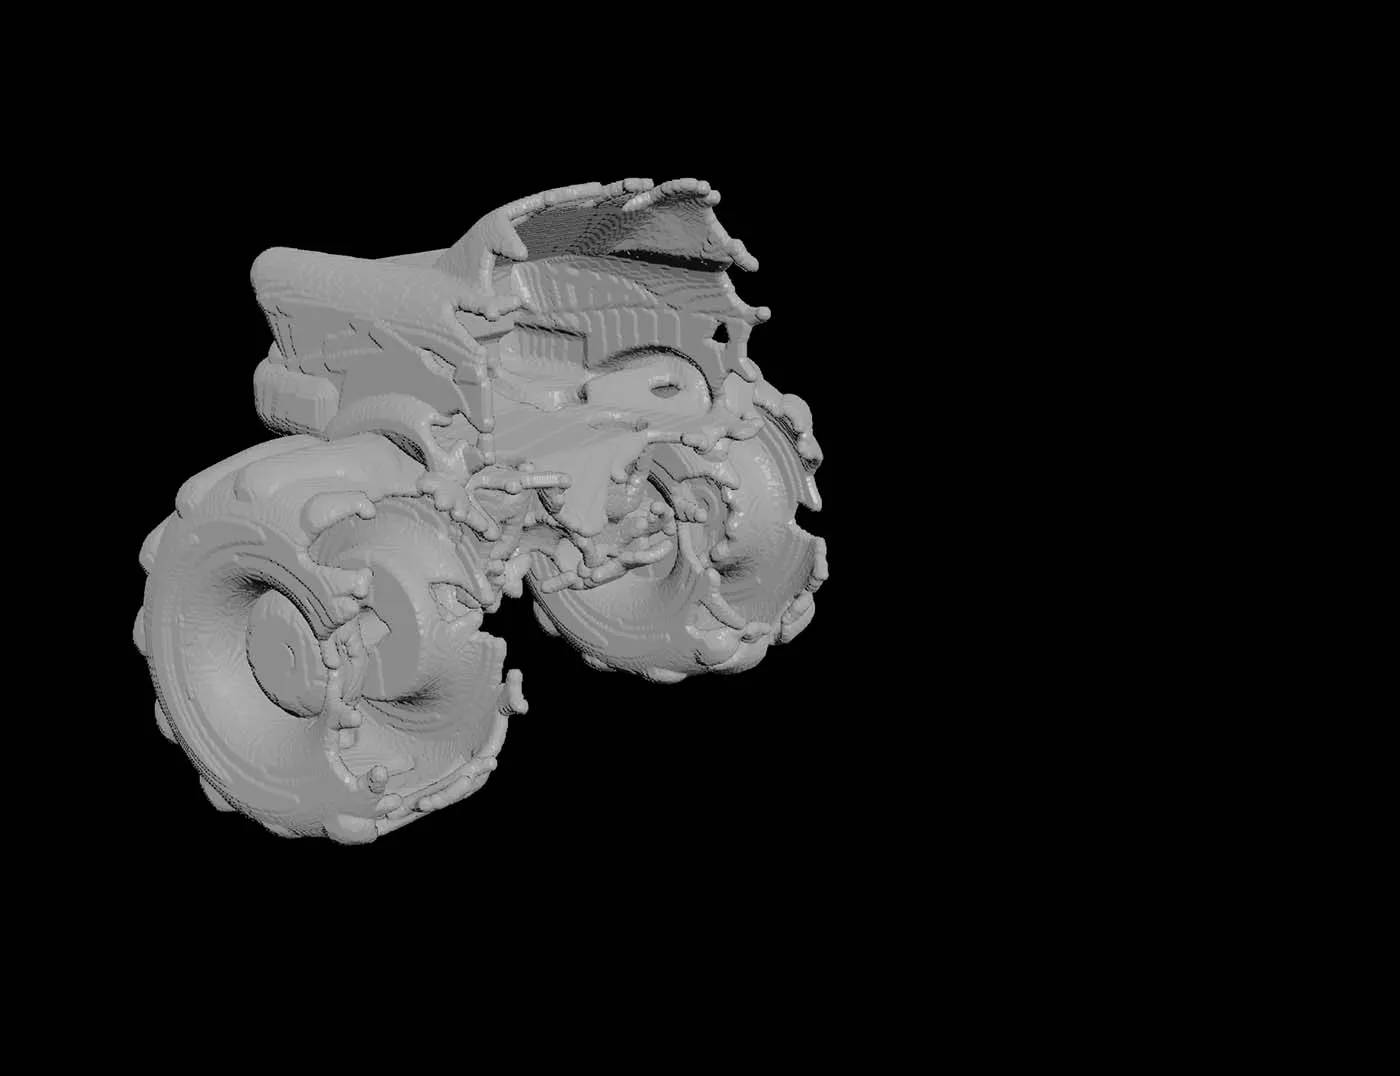
High poly models


Low poly in-game models
Technical Details
Each shot presented unique challenges, so let's take a closer look at each one individually.
Missile
From the beginning, it was clear to me that I wanted to keep this shot simple and focus on the missile animation, pyro simulation, and slow-motion effect.
To animate the missile, I simulated just one particle with some wind, gravity, and a POP Attract force. A single-point animation with the velocity vector as direction was enough and allowed for quick iterations.
I created sourcing and velocity fields for two phases - before and after the hit. Since the missile is a fast-moving object, I used a Smoke Sparse Solver (the same as the Pyro Sparse Solver, but without gas microsolvers embedded) and created a trail sourcing from the earlier missile-particle simulation to avoid problems with an uncontinuous source.

Thanks to the sparse solver, the calculations were fast, so I was able to cache the entire simulation with enough substeps to achieve the slow-motion effect without subframe interpolation and volume retiming issues.
Freeze
This shot presented two challenges - maintaining the fast pace of the shot while showing detailed closeups of the freeze effect, and of course, creating the effect itself. I conducted numerous tests for the camera movement, and in the end, I decided to mount the camera to a virtual crane attached to the trolley, which traveled in parallel with the track.
The freeze effect is made up of many separate parts and involved many different techniques:
Ice Block
This was the base for the other effects and was pretty straightforward. I created a VDB from the toycar geometry, expanded it, and converted it back to a mesh. To animate the spreading movement, I used an infection algorithm with a cost attribute from the texture. The next step was to blast the uninfected part of the geometry, convert the surface to a VDB, and then back to geometry.


Finding: Melting ice is naturally flowing and round, so VDBs are great for modeling them, especially since they don't require too many voxels to look good.
Frost
For the frost effect, I adapted Junichiro Horikawa custom solver based on Anton Grabovskiy algorithm.


Mist (smoke)
This effect was simple - just a classic Pyro Solver with wind turbulence and a negative temperature source.
Snow (particles)
This effect was mainly driven by the Mist Pyro simulation. It's a simple particle advection simulated using a POP solver with the Mist Velocity Field as the advection volume.
Snow (surface)
The first technique that came to my mind to cover part of the track in snow was to create a shader with material blending. Houdini is great when it comes to parameter-driven materials, so I went this route. All I had to do was to cut a necessary piece of the track, subdivide it to get enough points, and animate the spreading parameter with the same infection solver I used on the Ice Block. With the prepared parameter, I could easily pass it to the Redshift shader as a blending mask.
Finding: It's wise to do the infection simulation only with the necessary animated part of the geometry, especially if you want to cache it. It's also important to find a balance with subdivisions - it's good to keep a lower point count for the infection sim and get the details with procedural noises and textures inside the shader.
Nitro
This shot presented a challenge as the Nitro effect itself can be quite mundane. Instead of focusing on the jet propulsion effect, I wanted to capture the feeling of speed at the moment of firing the Nitro. To achieve this, I decided to position the camera in front of the car, create a tunnel-like environment, and add a vertigo effect.
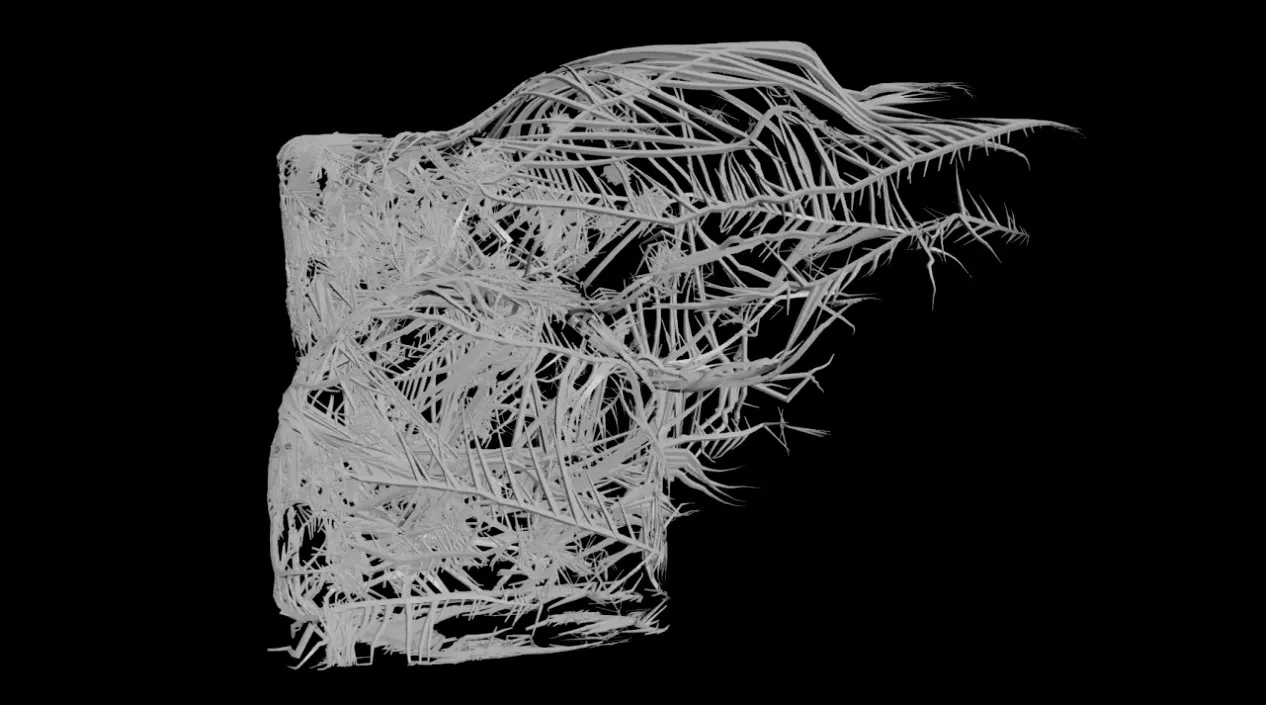
As a child, I enjoyed building forts out of blankets and sheets. Recreating this with Vellum in Houdini was almost as quick as building a physical fort, so I decided to use it for the tunnel effect. I added chairs from Quixel Megascans and worked on a cloth simulation using a simple grid geometry with attached hairs as the simulation object. After the simulation, it served as the base for the high-poly version.
I had the idea for the vertigo or "entering hyperspeed" effect from the beginning, and it worked well. It added an extra boost to the speed sensation and enhanced the overall impact of the shot.
References
While I had access to game assets and concepts, my main reference was the screenplay from the newest version of NJR, which already had the new features implemented such as PowerUps and the Neon World. Therefore, I focused on this screenplay to ensure that my work was aligned with the direction of the game. In addition, I used the low-poly in-game models of the toycars as a reference to quickly match the scale and shape of my high-poly models.
Conclusion
During this project, I was able to consolidate the knowledge I had gathered in my previous videos. I made the switch to Houdini for most of the production work, which allowed me to harness the power of procedural workflows not only in asset creation but also in rendering (such as using point attributes to drive Redshift shaders).
It was really enjoyable to dive deeper into visual effects. While I had done some Nitro Jump Racing animations before (examples below), they were short films with multiple shots, and I didn't have the time to give each shot the necessary attention. This time, I was able to focus on each shot and had a lot of fun doing so.